
Plants in Main Library periodicals that are ripe for propagation
By Morgan McFall-Johnsen
It’s finals week, and you’re so close to winter break. You’re cooped up in the library. Most of the vegetation outside is dead, dying, or has dropped all its leaves – a cruel reflection of that heavy, finals-week feeling in your soul.
While you’re working away, take a moment to appreciate the nature inside the library. Technically, you could even take some home. We’re not saying you should alter or take from the library’s plants in any way – we’re just saying that you could.

Philodendron
Propagation Skill Level: Beginner
Philodendron is arguably the easiest houseplant you could possibly own. You have to be a highly skilled plant killer to mess it up. The propagation isn’t that hard either. The key – as with propagating any other plant – is to make a clean cut.
How to propagate philodendron
- The stems are covered in little bumps called “nodes,” sometimes where a leaf meets its adjoining stem. Use scissors or a sharp knife to cut off about six inches of stem, making a clean cut about ¼ inch below a node.
- Remove all but two or three end leaves from your cutting.
- Place the cutting in a jar of water, with at least one node submerged – preferably more.
- Place the jar of water in indirect sunlight in a warm room. A windowsill or table by a window is a good place.
- In 3-6 weeks, the cutting should have roots growing from its nodes. Keep the jar filled with water so that all the roots are submerged. The plant will use some of the water, and some of it will evaporate, so you may have to add more every few weeks. Once the cutting has a solid root infrastructure (with the roots wrapping around the inside of the jar in at least one full circle), you can put the cutting into a pot filled with soil. Alternatively, leave the cutting in the water indefinitely. It will just keep growing and growing!

Christmas Cactus
Propagation Skill Level: Beginner
The holidays are coming up, and if you’ve been putting off present-buying for finals this is a good way to catch up. Christmas cactus might even produce pink or red flowers just in time to be gifted.
How to propagate Christmas cactus
- Cut off three or four joined segments from a healthy part of the plant with a pair of clean, sharp scissors.
- Set the cutting aside to dry for a couple days.
- Put the cut end into a pot of well-draining soil (peat and sand is good) and place in a well-lit area. Water sparingly (about once every week or two).
jjjj

Money Tree
Propagation Skill Level: Beginner
Somebody call Kendrick Lamar! Unfortunately, this tropical wetland tree from Central and South America doesn’t grow money, and it might not get big enough to provide shade. If nothing else, it gives life to any living space, and it’s fairly easy to care for once you have a sturdy plant with a full root system.
How to propagate a money tree
- Again, you’re making a clean cut right below a node. Use scissors or a sharp knife, and cut off a full branch or several branches from the same node.
- Place the cutting in a jar of water -- preferably something tall that keeps the cutting standing upright. Place the jar in a warm spot with bright indirect sunlight.
- Change the water about once a week.
- In about three weeks, the cutting should produce roots. Don’t be alarmed if it takes longer than that. Every plant is different. Once your cutting has a good root system, plant it firmly in a pot of peat moss.
jjjj

Snake Plant
Propagation Skill Level: Intermediate
Snake plant is also known as mother-in-law’s tongue, making it a great gift for family members you just can't stand. The leaves' stiff, waxy nature makes snake plant great for interior design. The one in the library is wilting along one side, but they don’t usually look so sad. It’s hard to imagine how they managed to do that, since snake plants thrive on neglect.
How to propagate snake plant
- Select a healthy leaf and cut it off (or cut off a portion of it) with clean, sharp scissors.
- Let the leaf sit out for a day or two so it can callus over.
- Put the cut end into a container of lightly moist sand. In a couple weeks, the plant should root.
jjjj

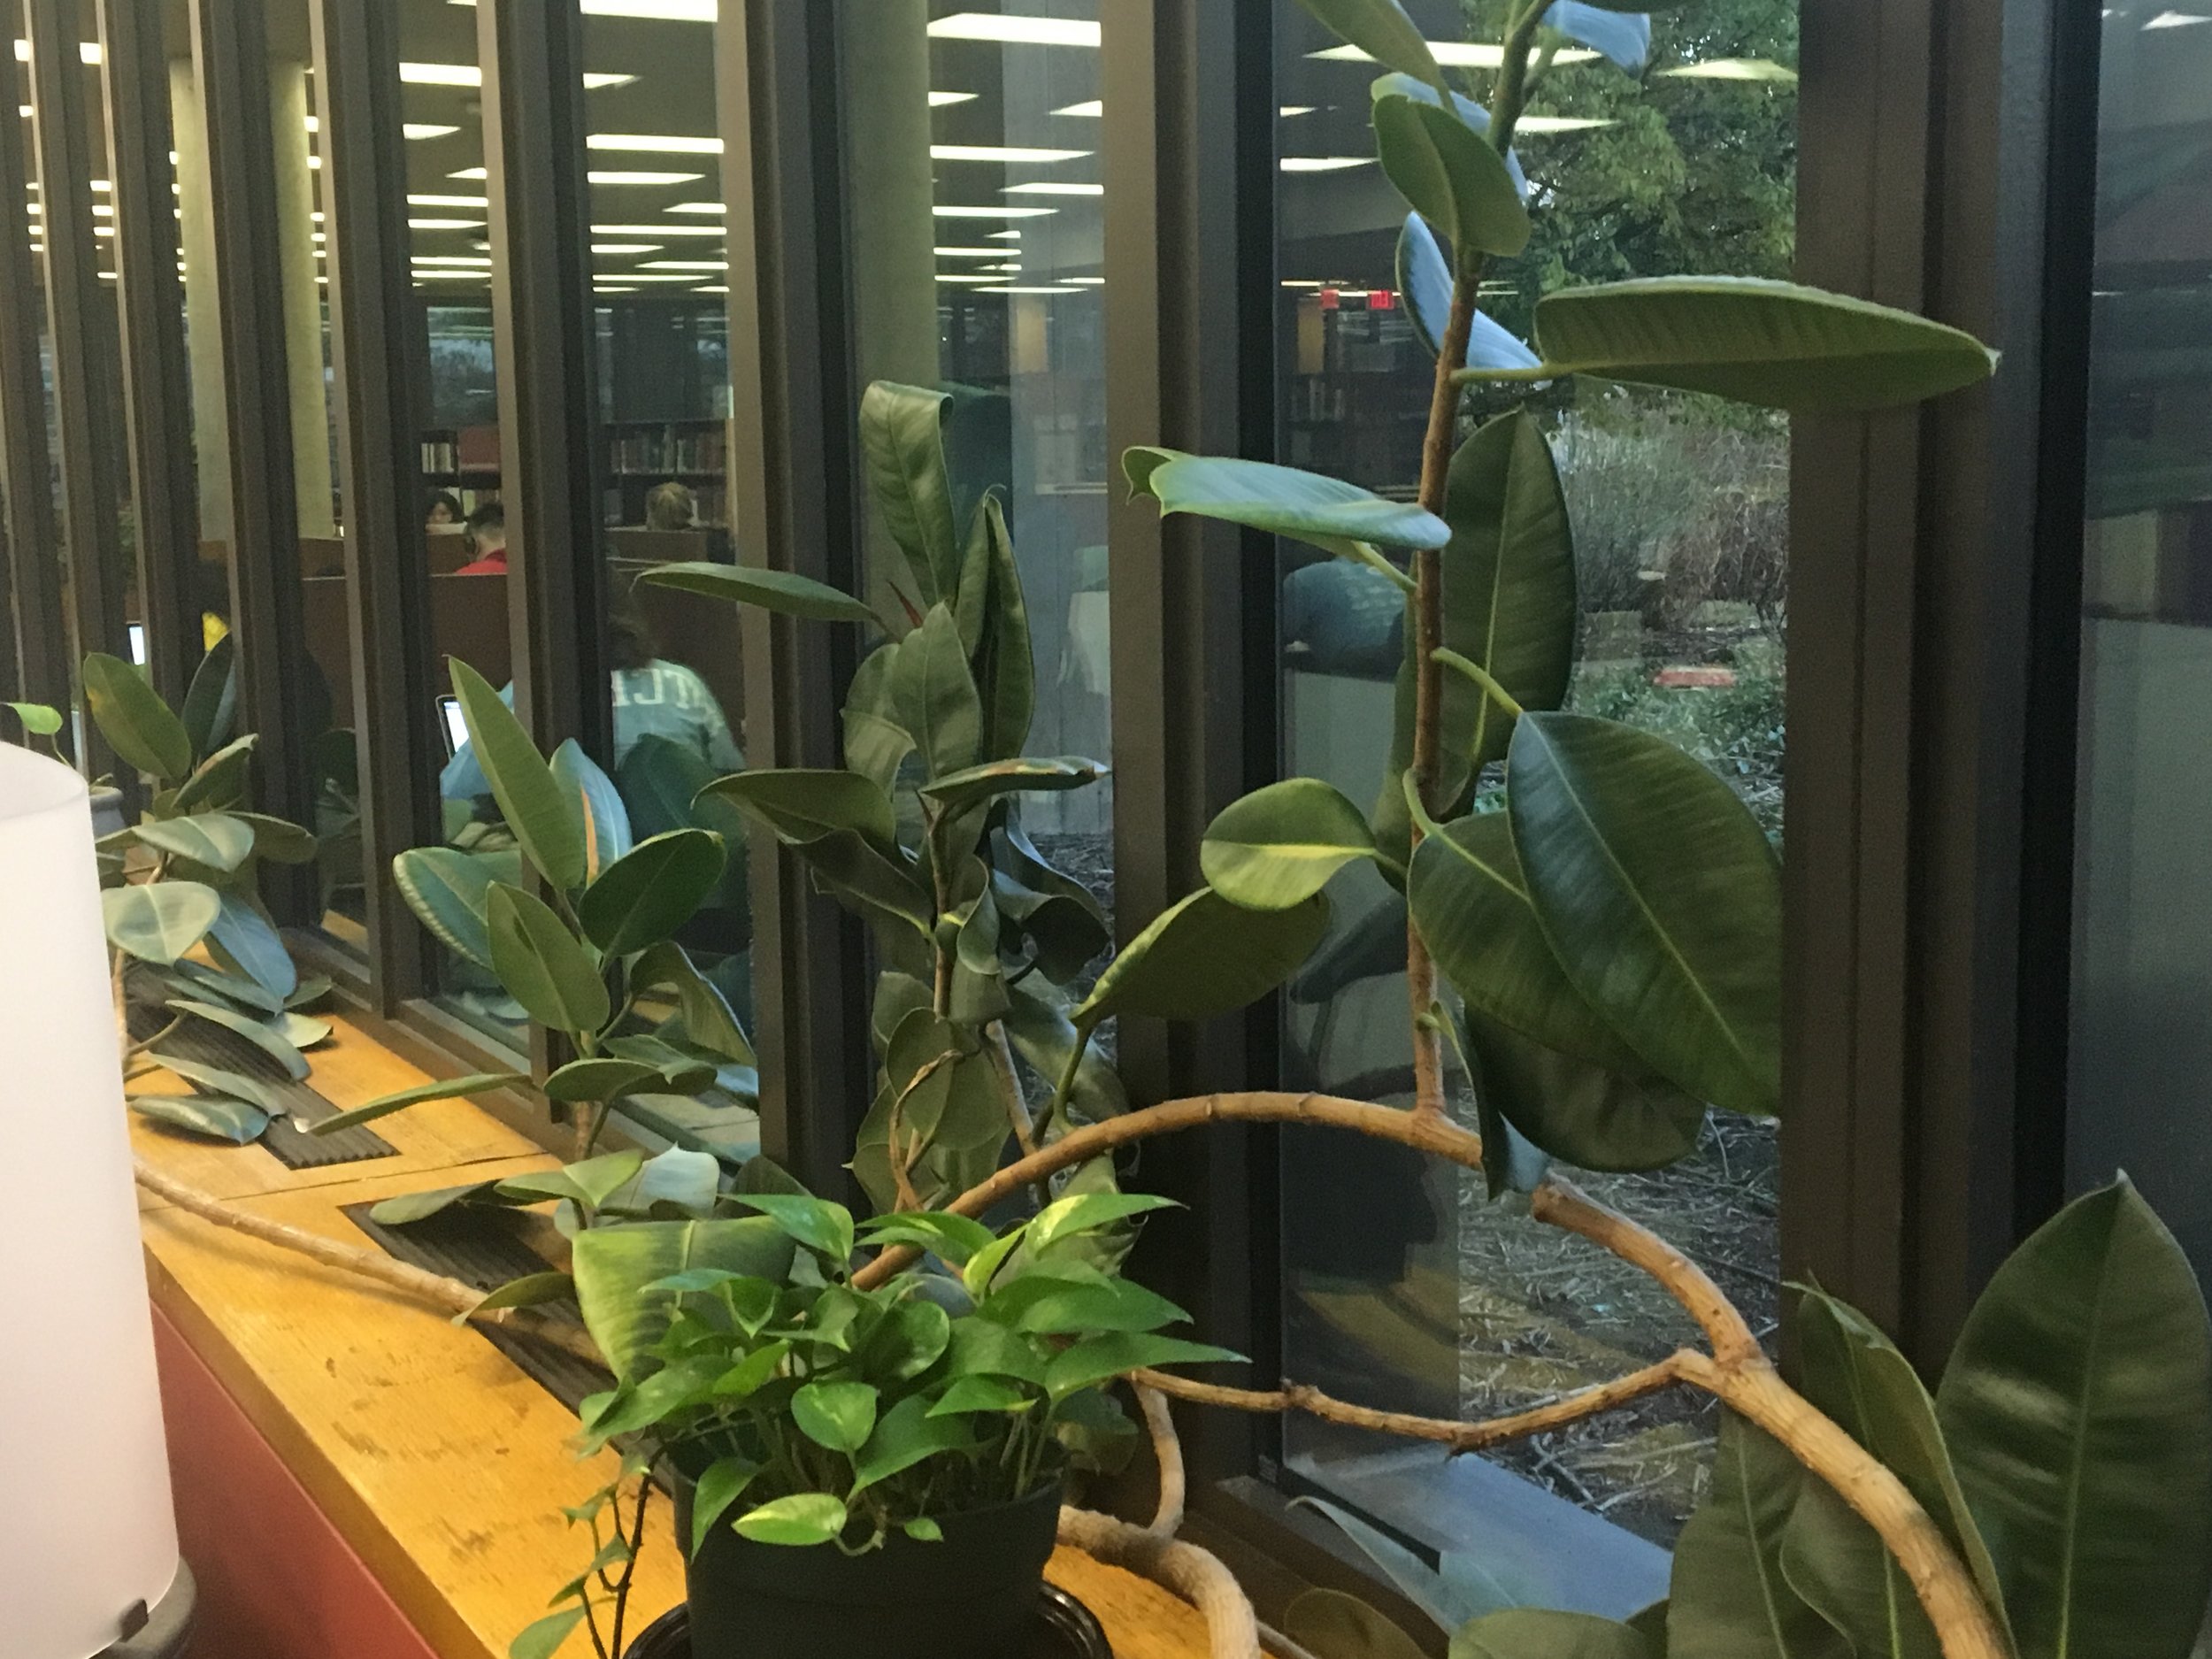
Rubber Tree Plant
Propagation Skill Level: Advanced
The rubber tree plant in the library is absolutely enormous. It grows like a thick vine, pressing itself against the windows to get sunlight. Its large leaves make for a dramatic presence.
How to propagate rubber tree plant
- Take a cutting about six inches long with at least two sets of leaves. Cut just below a leaf joint with a clean, sharp knife or scissors.
- Remove the bottom leaves, leaving only a set of leaves on the tip of the branch.
- Place the bare end of the cutting in a pot of moist but well-drained potting soil.
- Cover the pot with clear plastic, but don’t let the leaves touch the plastic. Place in a warm spot in bright indirect light and keep the soil damp but not wet. In two to three weeks, the cutting should have roots and the plastic can be removed.

Dieffenbachia
Propagation Skill Level: Advanced
This one is more difficult because you have to wear rubber gloves and, ideally, eye protection. And definitely don’t get any part of this plant in your mouth. The leaves and stems contain a chemical called raphides, which will sting and burn your skin and especially the inside of your mouth. It can even cause temporary loss of speech, which has earned it the nickname “dumb cane.”
How to propagate dieffenbachia
- Put on rubber gloves and eye protection. Keep them on anytime you are handling cut dieffenbachia.
- Cut off a healthy cane of the plant, cutting just above a bud or stem junction.
- Rigorously clean the scissors or knife you used to make the cut. Use alcohol to disinfect.
- (Optional) Moisten the cut end of the cane and dip it in rooting hormone to encourage better root growth.
- Place the cane right-side-up in a pot of rooting medium (peat moss with sand or perlite should work). Place in a warm spot with bright, indirect light and water regularly to keep soil moist, but not wet.